Only a few more sleeps until All Hallows’ Eve!
It’s hard to believe that in a few days we’ll be transitioning out all the Halloween decorations. It feels like we only just put them up! What are you doing for Halloween this year?
In many places, Halloween is going to look different this year. Different does not mean the fun is over, though. It’s just… taking a new form. Recently, while discussing how the holiday season will also look very different this year for so many as we continue to struggle with COVID-19, my mother and I discussed how this change provides an opportunity for new traditions. For Halloween, for instance? There’s nothing wrong with dressing up and staying home while doing Halloween festivities or watching Halloween movies. I know some families that are planning Halloween candy scavenger hunts, baking Halloween cookies, playing Halloween themed games, making Halloween gingerbread houses, and even decorating pumpkins to celebrate where they cannot go trick-or-treating.
Honestly, I haven’t thought much about my Halloween plans beyond what movies I’ll watch that night. (Halloweentown and Hocus Pocus, of course!) With a board exam on the 31st my only thoughts are ‘study, study, study.’ But, I can promise, dressing up will happen in one way or another! Whether it will be a costume or some Halloween-themed apparel, I will be reveling in the last day of the Halloween season. Are you dressing up?
Halloween is one of my favorite times of year. During undergrad, I loved to dress up for classes on Halloween. (I was lucky enough to attend an undergraduate university where a professional dress-code was not mandated.) In graduate school, I dressed up as a bumblebee to work at the school herbal dispensary and for clinic and class days, I utilized a full drawer of Halloween jewelry throughout all of October to spread the festive, spooky vibes.
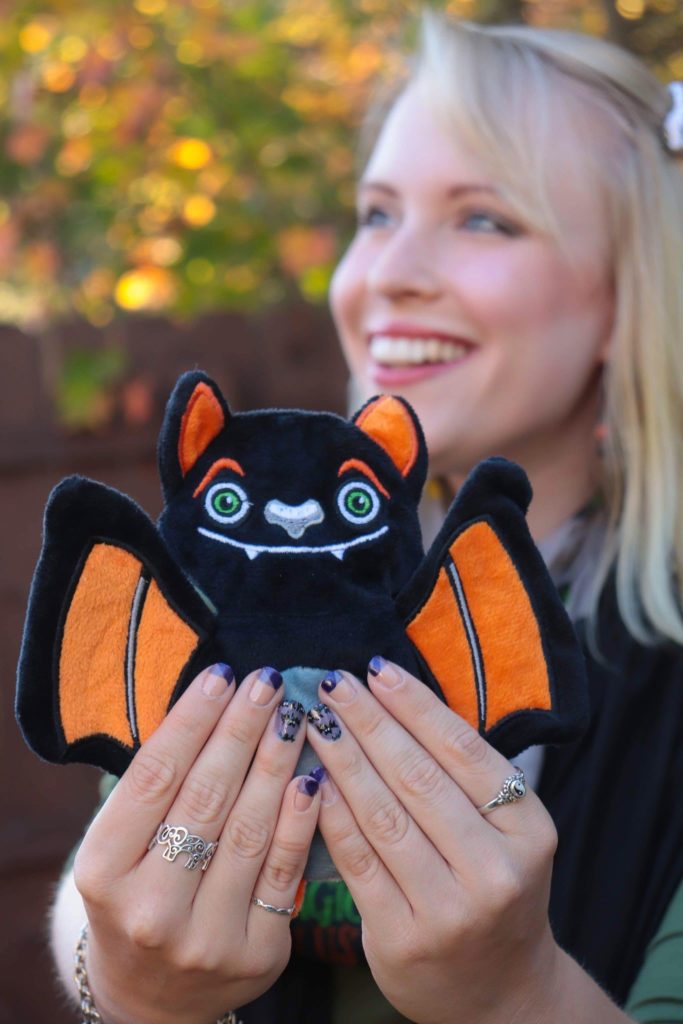
One year, in undergrad, I dressed up with a bat theme. It was simple – everything coming right from my closet, except for the bat headband – and yet I had so much fun with it.
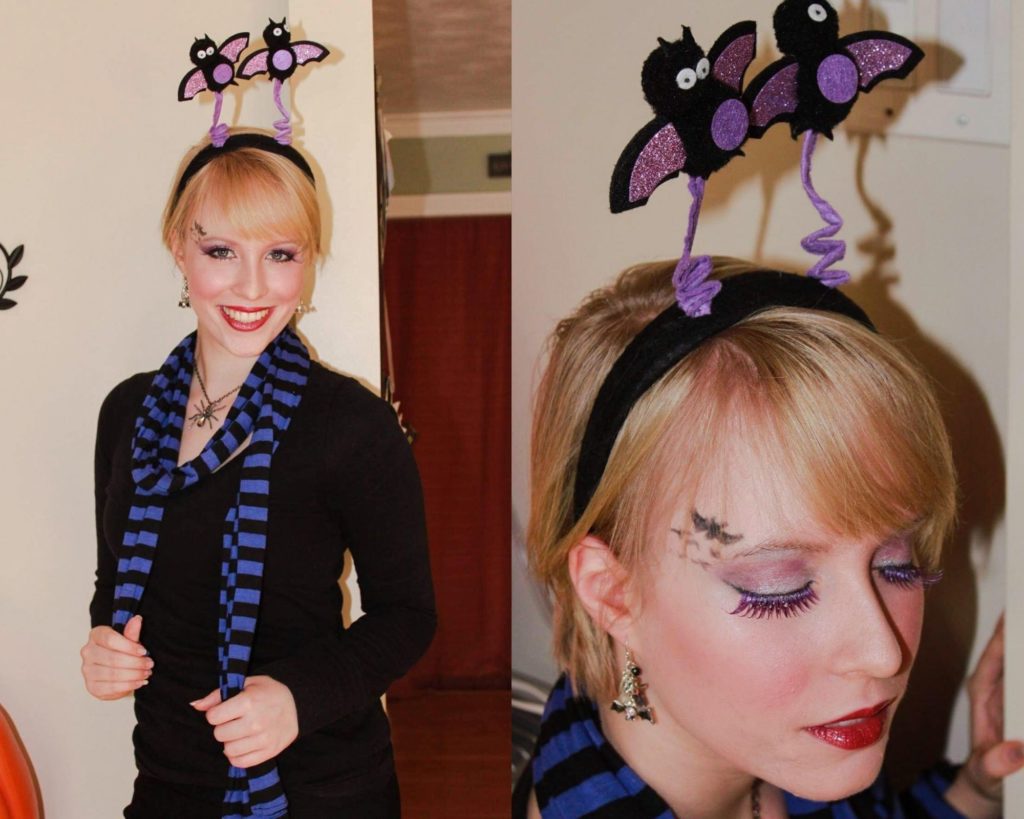
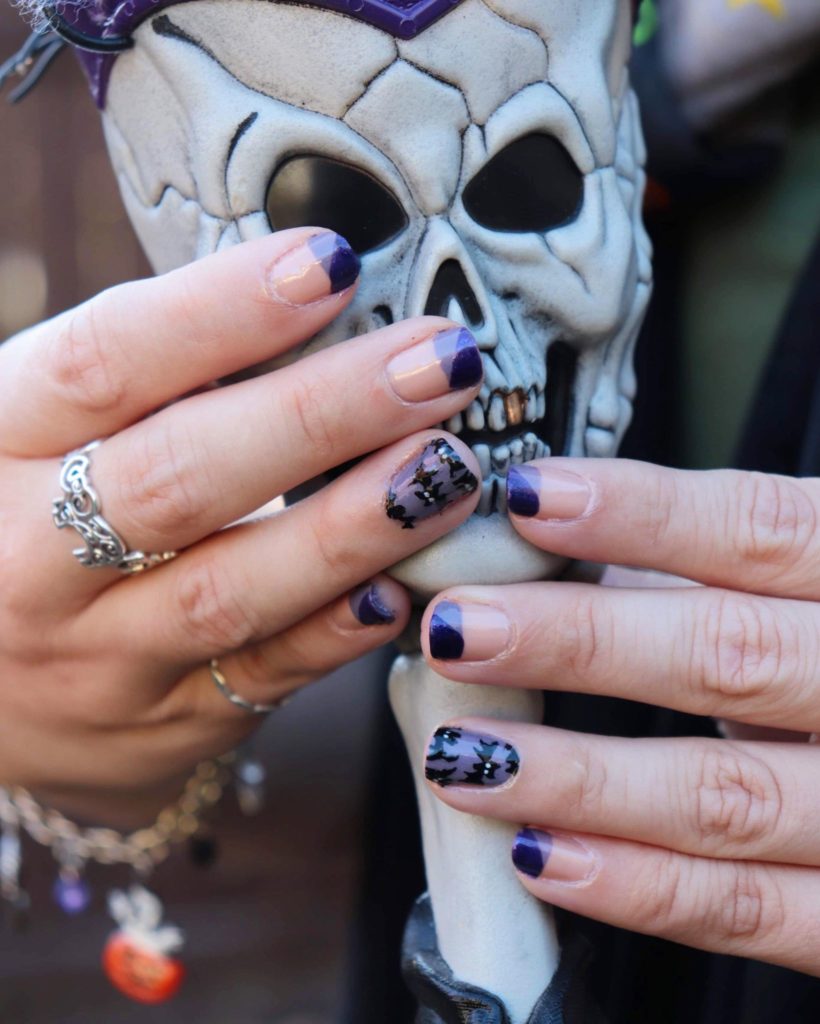
When I was working on this bat-themed Halloween nail design I could not help remember this costume. Apparently, the habit of pairing purple with bats hasn’t changed! 😉 If only I’d had thought of this Halloween nail design then! It would have been the perfect little fangtastic costume addition. If you’re thinking of a bat themed Halloween costume then I hope this helps you pull together the perfect style – from your head to your nails.
Full disclosure – Some of the nail colors I use may not still be in production. I tend to keep my nail polish around for a long time as long as the quality remains. I’ve tried to add suggestions of replacement colors whenever possible. For any color that you cannot find, you can choose your favorite nude, purple(s), white, or black polish from your favorite nail polish line. I personally love OPI. I find the color lasts well before chipping and use it as much as possible. (Also, a huge shout-out to my mom who agreed to let me take process photos on her nails when I’d forgotten to take them the day I painted mine.)
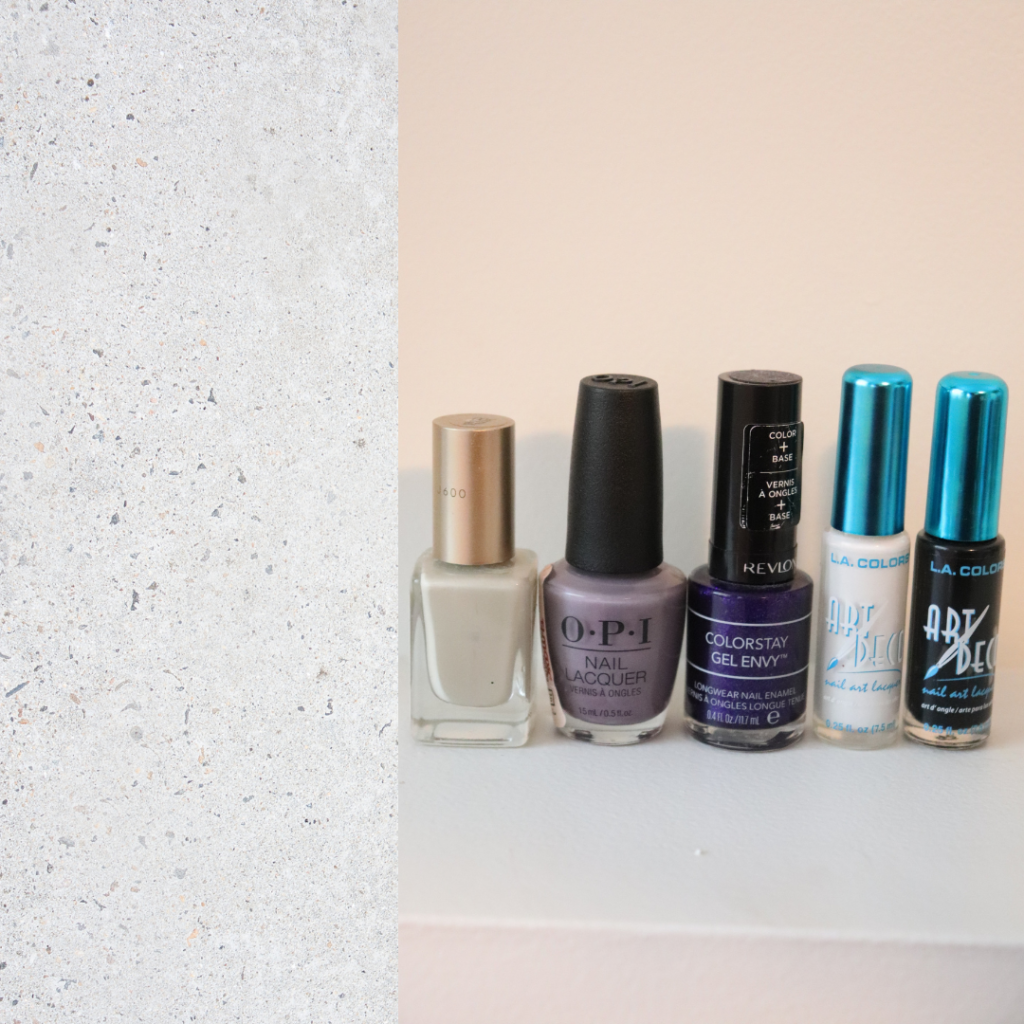
Here’s what I used for Nail Polish:
Nude – Walk on the Beach ( L’oreal)
Dark purple – The name wore off this one, but I found it on Amazon (Revlon)
Lighter purple – Addio Bad Nails, Ciao Great Nails (OPI)
Black – L.A. Colors Art Décor Black (If you do not have access to nail art polish or do not want the expense, a fine nail brush can be
used in your favorite bottle of white polish.)
White – L.A. Colors Art Décor White (If you do not have access to nail art polish or do not want the expense, a fine nail brush can be
used in your favorite bottle of white polish.)
Top Coat – Opi Top Coat
Other Supplies:
Vaseline and cotton swabs (optional)*
100% Acetone nail polish remover* and cotton balls / cotton swabs
Nail art brush (optional – if you do not have nail art polish) *
Nail polish thinner (optional) *
Tips:
* If, like me, you tend to get excess polish on your fingers when painting them yourself, putting a little Vaseline around your cuticles and skin around the nail bed prior to applying polish makes for a much easier clean up at the end. It decreases the need for cleaning up with nail polish remover. If you do not do this, I recommend having a few cotton swabs on hand to dip into the nail polish remover so that you can be more precise with removing polish after your nails are finished.
* I use 100% Acetone because it doesn’t have any dyes or other additives. Historically, I used non-acetone nail polish remover, but I found with the newer gel nail polishes I was having to use more to remove the nail polish. Some days, it was like I was having to bathe my fingers in non-acetone remover and I was not comfortable with that excessive chemical exposure.
* If you use a nail brush, keep a cotton ball on hand and nail polish remover. After you use the brush you can dab it off onto a cotton soaked in nail polish remover to keep the brush clean and also pliable.
* The nail polish thinner returns polish to its original consistency, which is great for if nail polish gets clumpy or thick.
Instruction:
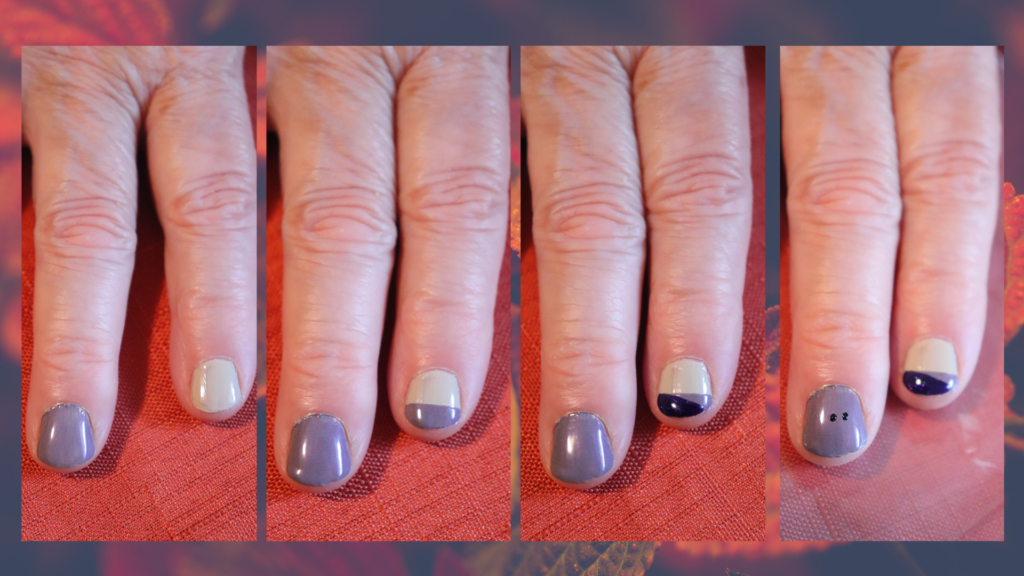
- Apply 2-3 coats of nude nail polish to both hands and 2-3 coats of the lighter purple to your accent nail. Allow for thorough drying between coats.
- Make a light-purple tip on your non-accent nails (2 ways). These can be as thick or thin as you wish. I like the purple taking up about 1/3 or ½ of the nail for this style, personally.
- 1 way: You can free hand this purple strip. When I do this, I find it easier to put a good amount of polish on the nail brush (not dripping, but not dry). I place the brush on the corner of the nail closest to me and drag in one horizontal motion toward the opposite side. Having a “medium” amount of polish on the brush will help the crispness of the line. Too little and the brush marks will show or the line be uneven.
- 2ndway: If you are not yet steady with your hand, you can wait until the nude polish is completely dry. (You don’t want it tacky or easy to leave an impression on). Take a piece of scotch tape and adhere it along the nail so it makes a horizontal line along your nail. Paint the area below it all the way to the tip. Allow this to dry, again. The drier it is, the better. Then slowly remove the tape starting with pulling from the end closest to you. You’ll have your orange tip!
- Allow for some drying time again, so you don’t smudge the nails.
- Once the nails have dried again – or while they’re drying, if you’re more coordinated than I am – move on to your accent nail. Here you’ll start making the bats. I find it easiest to start with a main bat near the center of the nail and then fill in the spaces left behind with more until I like how it looks. To make the bats:
- Using your black nail art polish make two small dots on the center of your nails. These will become the bat ears.
- Add a small dot to the space between these first two dots, connecting them. If you have a hard time making the dot free-hand, you can use the rounded end of a nail brush or thin paint brush handle dipped in black nail polish to form it. Add a slightly rounded triangle of black coming off the center dot and fill it in. This becomes the body of the bat.
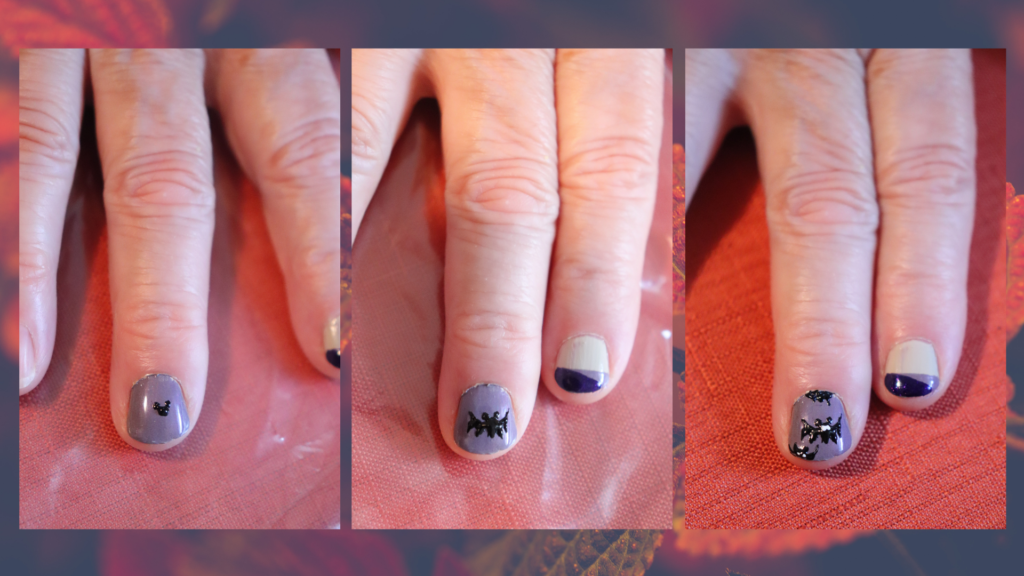
- You can start adding the wings off from the body of the bat. For me, it is easiest to start with a curved line forming the upper border of the wing. I then add another line for the sides of the bat wing and one line about mid-way along both wings. I then fill in the spaces between these lines with black. This gives that jagged, winged appearance.
- Allow this black to dry completely. It will take a little longer than your other layers.
- Use the white nail art polish to dot two, small white dots onto the bat body for the eyes.
- Back on your non-accent nail, make the diagonal dark purple strip. (2 ways)
- 1 way: You can free hand this dark purple line similar to how you free-handed the purple tip, with a small variation. Whether using the nail art brush that came with the polish or another nail art brush with regular polish, start at the corner closest to you. Align the brush so that it is over the lighter purple. The upper border of its width should abut the upper border of the lighter purple. Drag in one diagonal motion toward the opposite side of the nail. If the brush tip thin, you may not fill the whole space. That’s okay! Mine was a wider brush and could fill it in one pass. If yours can’t, once you have that initial dividing line, fill in any coloration that remains.
- 2ndway: Use scotch tape to determine the thickness and angle of the diagonal line you want. Take your nail art brush with dark purple polish and fill in this space. Allow it to dry before removing the tape, starting from pulling from the end closest to you.
4. Allow the dark purple stripes to dry.
5. On your accent nail you can now add more bats or parts of bats to fill in space, if you haven’t already. I will sometimes do part of a wing or the head and part of a wing – whatever I can fit in with the space I have left.
6. Once everything has dried, add on the top coat and you’re done! 🙂
If you recreate this design or any of the others I post, I’d love to see them!
Happy Designing!
Xoxo,